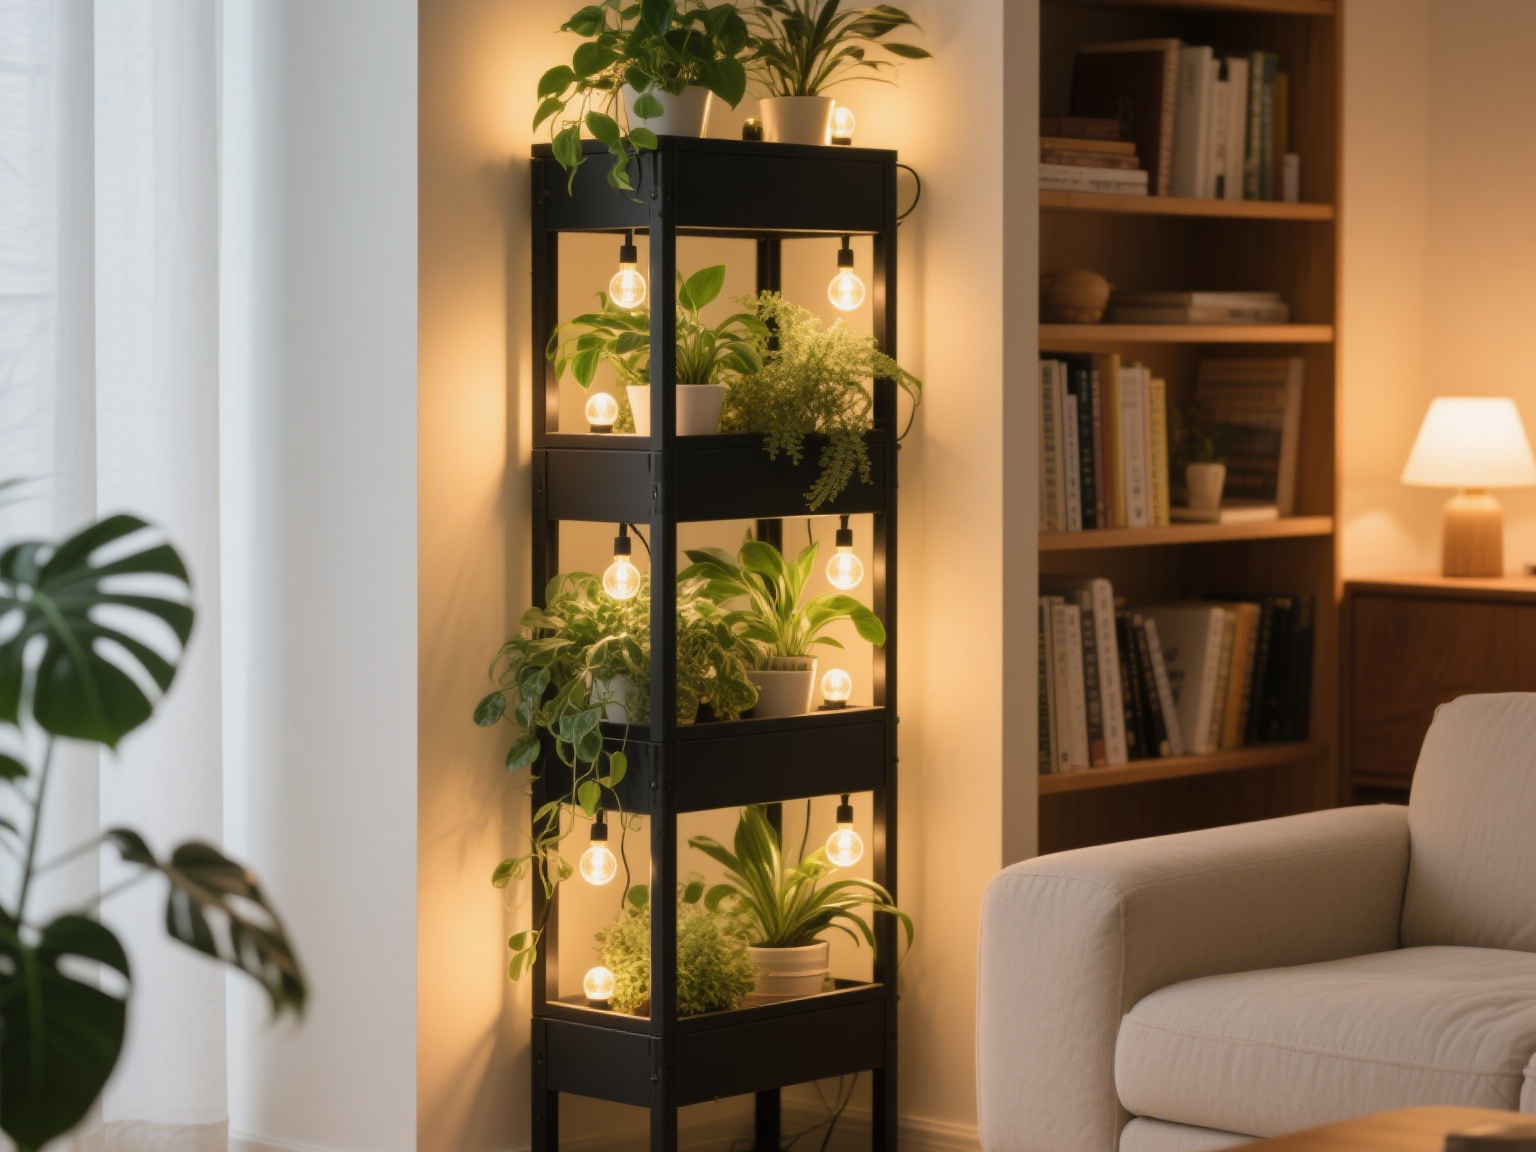
On the balcony of a high-rise apartment in Shanghai, designer Mr. Chen carefully adjusts the angle of a PVC flower rack. Sunlight filters through the gaps in the shelves, casting regular light and shadows on the ground, creating a vivid dialogue with the succulents and ferns on the rack. This seemingly simple installation process actually embodies a deep understanding of space, plants, and materials—every detail must be taken seriously to ensure the PVC flower rack is both stable and aesthetically practical.
1. Environmental Assessment Before Installation
Before installing a PVC flower rack, conduct a comprehensive “inspection” of the space. Measure the height of the balcony railing with a tape measure to ensure that a hanging flower rack does not block window opening and closing. Squat down and tap the ground to determine if there are any hollow areas under the tiles by sound, avoiding installation on unstable foundations. A user once drilled holes in a hollow tile wall, and the rack caused cracks in the wall within a week of installation.
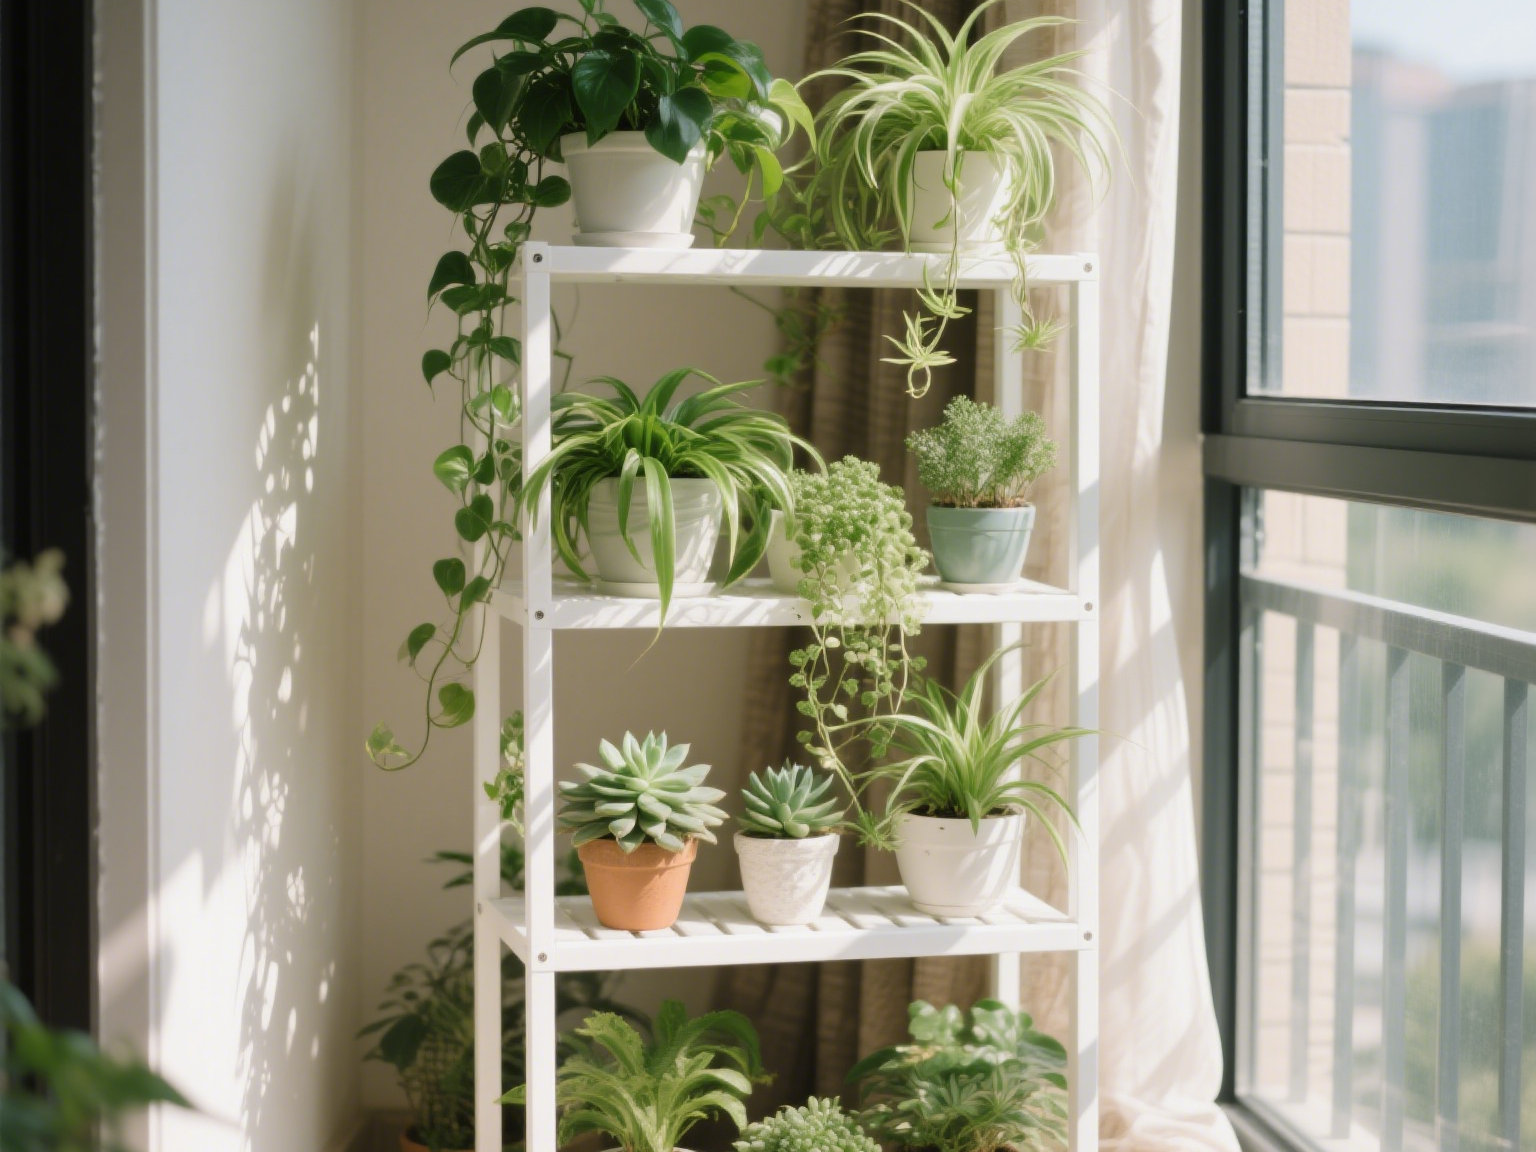
Light conditions are another key factor. When placing sun-loving jasmine on the upper shelf of the rack, ensure it receives at least 6 hours of sunlight daily. Shade-tolerant bird’s nest ferns should be placed in the lower backlit area. If installing on a north-facing balcony, pre-reserve space for LED grow lights at the top of the rack to prevent plants from becoming weak due to insufficient light.
2. Precise Matching of Tools and Accessories
The contents of your toolbox determine the success of the installation. An electric drill should be equipped with two types of drill bits: a 3mm bit for marking positioning and a 6mm bit for drilling expansion screw holes. When installing on a wooden balcony, the length of the wood screws must be 1cm longer than the thickness of the rack’s vertical columns to ensure firmness. On concrete walls, expansion screws should be drilled to a depth of 6cm; otherwise, they may loosen when bearing heavy weights.
Rubber gaskets are an easily overlooked detail. Placing them between the rack and the ground can both reduce vibration and prevent slipping, while also fine-tuning uneven surfaces. Those who have tried it know that a small gasket can significantly improve the stability of the rack.
3. The Philosophy of Balance During Installation
Floor-standing flower racks are afraid of “being unstable”. After placing the rack on the ground, use a spirit level against the shelf to ensure the bubble is centered. If the ground is uneven, cut old ceramic tiles into suitable shapes to pad the lower side until the spirit level shows balance. A gardening enthusiast once skipped this step, and after watering, the rack’s center of gravity shifted, causing a row of succulents to fall and suffer heavy losses.
Drilling holes for hanging flower racks is a technical task. Before drilling into tile walls, mark the position with a pencil and then slowly “test” with an electric drill, accelerating only when the bit enters the wall. For hollow brick walls, magnetic brackets must be used instead, as otherwise, the rack will sway in the wind like a dangerous building.
4. Holistic Thinking for Combined Racks
When combining multiple racks, consider overall stability like building blocks. When arranging them side by side, use L-shaped angle irons to connect adjacent racks into a single unit. For staggered heights, fix the bottom with long screws so they “support each other”. A commercial street’s flower rack landscape used this method, and after a typhoon, while other shops’ racks were toppled, this one remained intact.
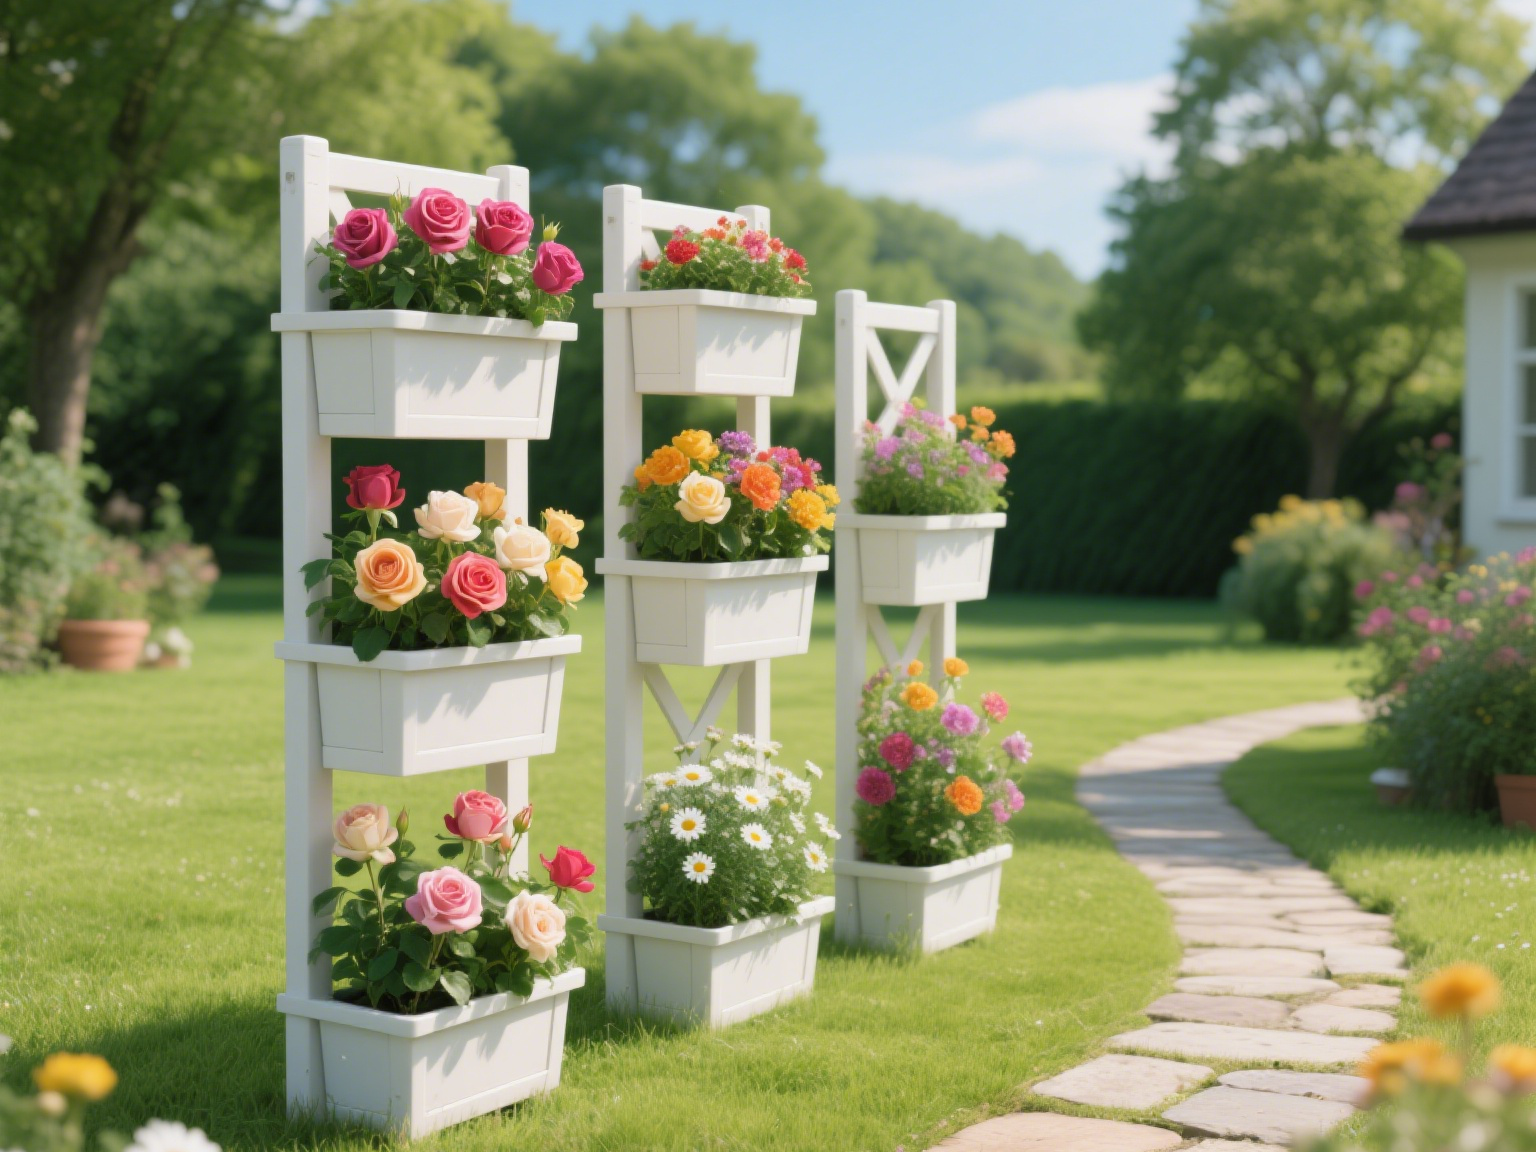
Color coordination should not be overlooked. Light gray racks paired with dark green monstera create a fresh and clean visual effect. Natural wood-colored racks planted with pink roses or white daisies exude a pastoral charm. Leave a 1-2cm gap between racks filled with rubber strips to prevent thermal expansion and contraction from causing damage in high summer temperatures.
5. Post-Installation Inspection Checklist
After installation, do not rush to plant flowers. First, conduct a comprehensive inspection:
Push Test: Gently push the top of the rack; the wave width should not exceed 2cm, otherwise add fixing points.
Water Test: Pour a glass of water onto the shelf and check if it flows smoothly into the water tray to avoid waterlogging that could rot plant roots.
Touch Test: Run your hand along the edges of the rack and sand any rough spots to prevent scratches.
Tighten Test: Use a wrench to check each screw, especially at the joints between load-bearing columns and shelves, to ensure they are not loose.
6. Seasonal Maintenance: A Must-Learn Course
In spring, check the fixing points between the rack and the wall and clean the drainage holes of fallen leaves. Before summer storms, add an extra nylon rope fix for hanging racks. In autumn, wipe the rack’s surface with a damp cloth to maintain its appearance. In winter, northern users should remove hanging racks to avoid damage from snow accumulation.
In a Shenzhen community courtyard, a row of PVC flower racks has stood steadily for five years. Owner Ms. Wang says that every time she maintains the racks, she remembers the care taken during installation: “It seemed tedious at the time, but now I realize that tightening every screw and adjusting every angle ensures the rack can withstand the test of time.”
From measurement to fixing, from debugging to maintenance, there are no shortcuts in installing PVC flower racks. Every seemingly tedious step is aimed at allowing green plants to grow in a safe environment and turning balconies or courtyards into true “aerial gardens”. When you place a chair beside the rack and watch sunlight filter through the leaves onto your book, you will understand: all the care is worth it.