Our PVC Fences feature a core advantage of “modular design + convenient installation,” allowing even novices to complete setup through simple steps. Below is a detailed installation guide and scenario-specific recommendations.
I. Tools and Materials Preparation
Basic Tools: Tape measure, level, electric drill, shovel, rubber mallet.
Material List: Fence posts, horizontal bars, grid panels, corner brackets, self-tapping screws (ST4x13/ST4x25), concrete (for in-ground fence fixing).
Protective Gear: Gloves, safety goggles (for cutting components).
II. Installation Processes for Two Major Fence Types
1. Base-Mounted Fences: Flexible Division Without Damaging the Ground
Suitable Scenarios: Balconies, terraces, indoor partitions, temporary activity areas.
Step-by-Step Guide:
Step 1: Measurement and Positioning
Use a tape measure to determine the fence location and mark post points every 1.5–2m (adjust the spacing according to fence height: the taller the fence, the smaller the spacing for enhanced stability).
Step 2: Assemble Posts and Bases
Fix L-shaped connectors to posts with ST4x13 screws, then install double-sided bases at the bottom, ensuring posts are vertical (calibrate with a level).
Step 3: Install Horizontal Bars and Grids
Insert horizontal bars into pre-set slots on posts and fix with ST4x25 screws; embed grid panels between horizontal bars and reinforce with rivets every 30cm to prevent shaking.
Step 4: Overall Adjustment
Check if all connections are securely screwed, gently shake the fence to test stability, and fill gaps between the base and ground with rubber shims for anti-slip purposes if necessary.
Advantages: No digging or pouring required; 10m of fencing can be installed within 3 hours. Removable and reusable, ideal for rental properties or temporary space renovations.
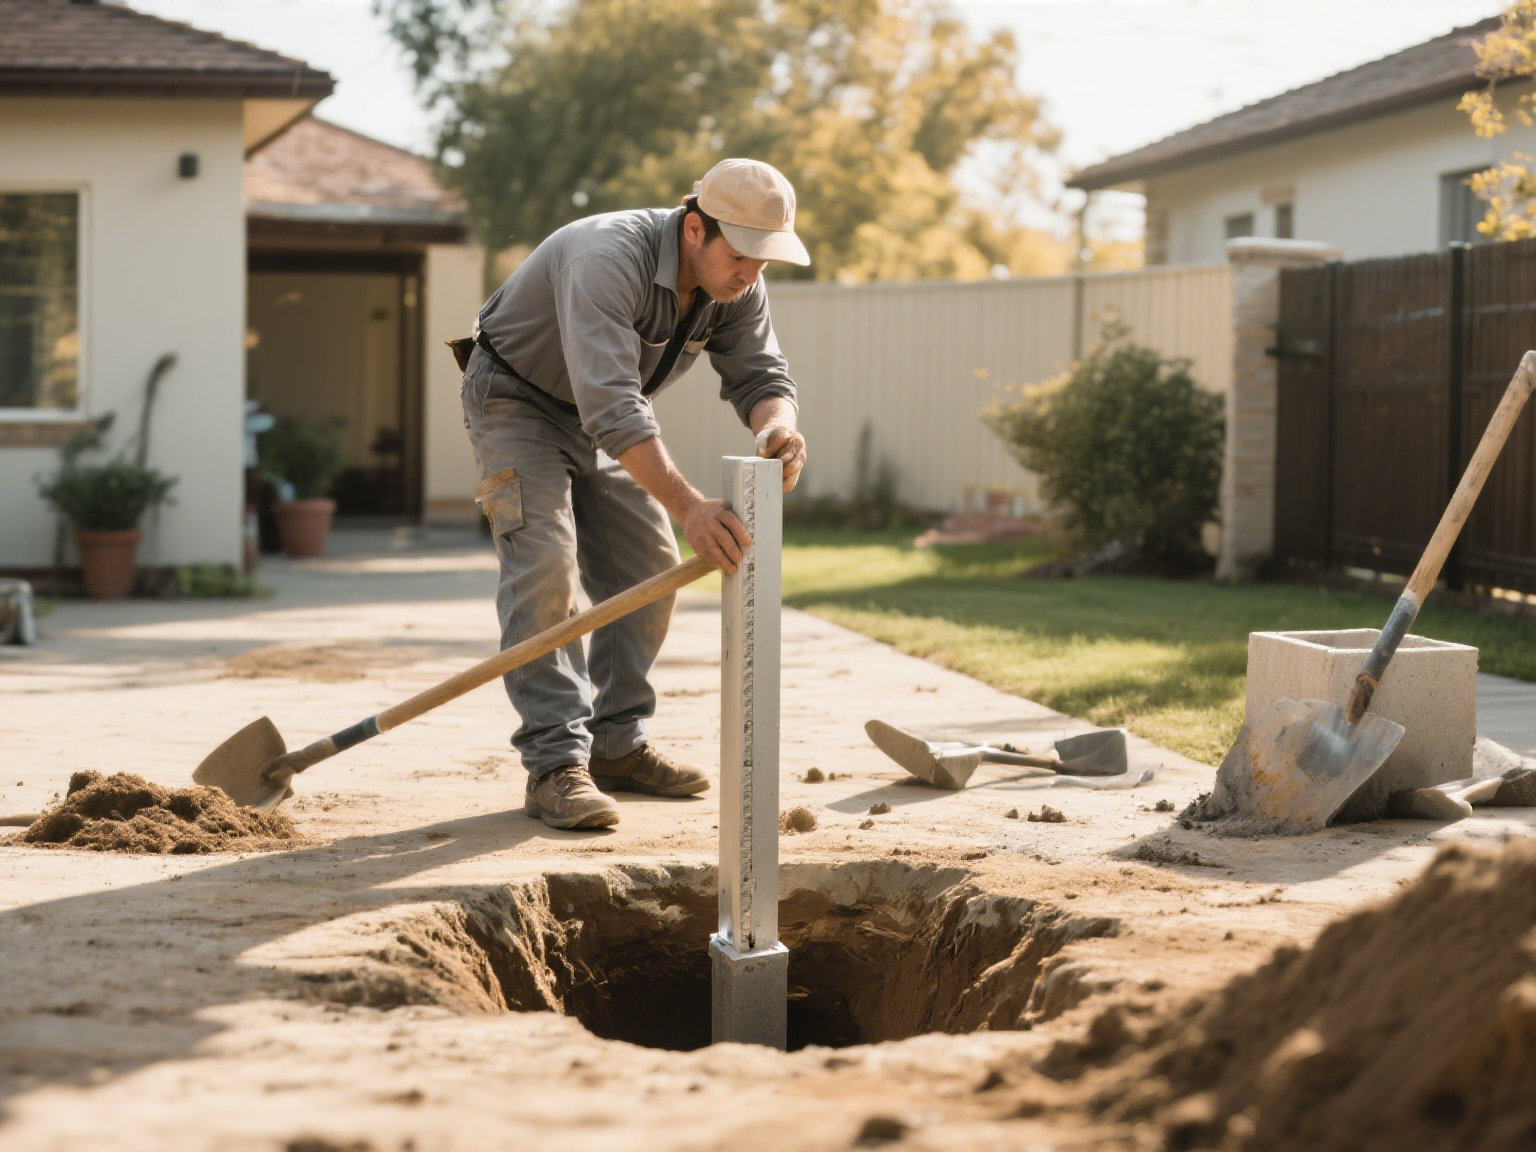
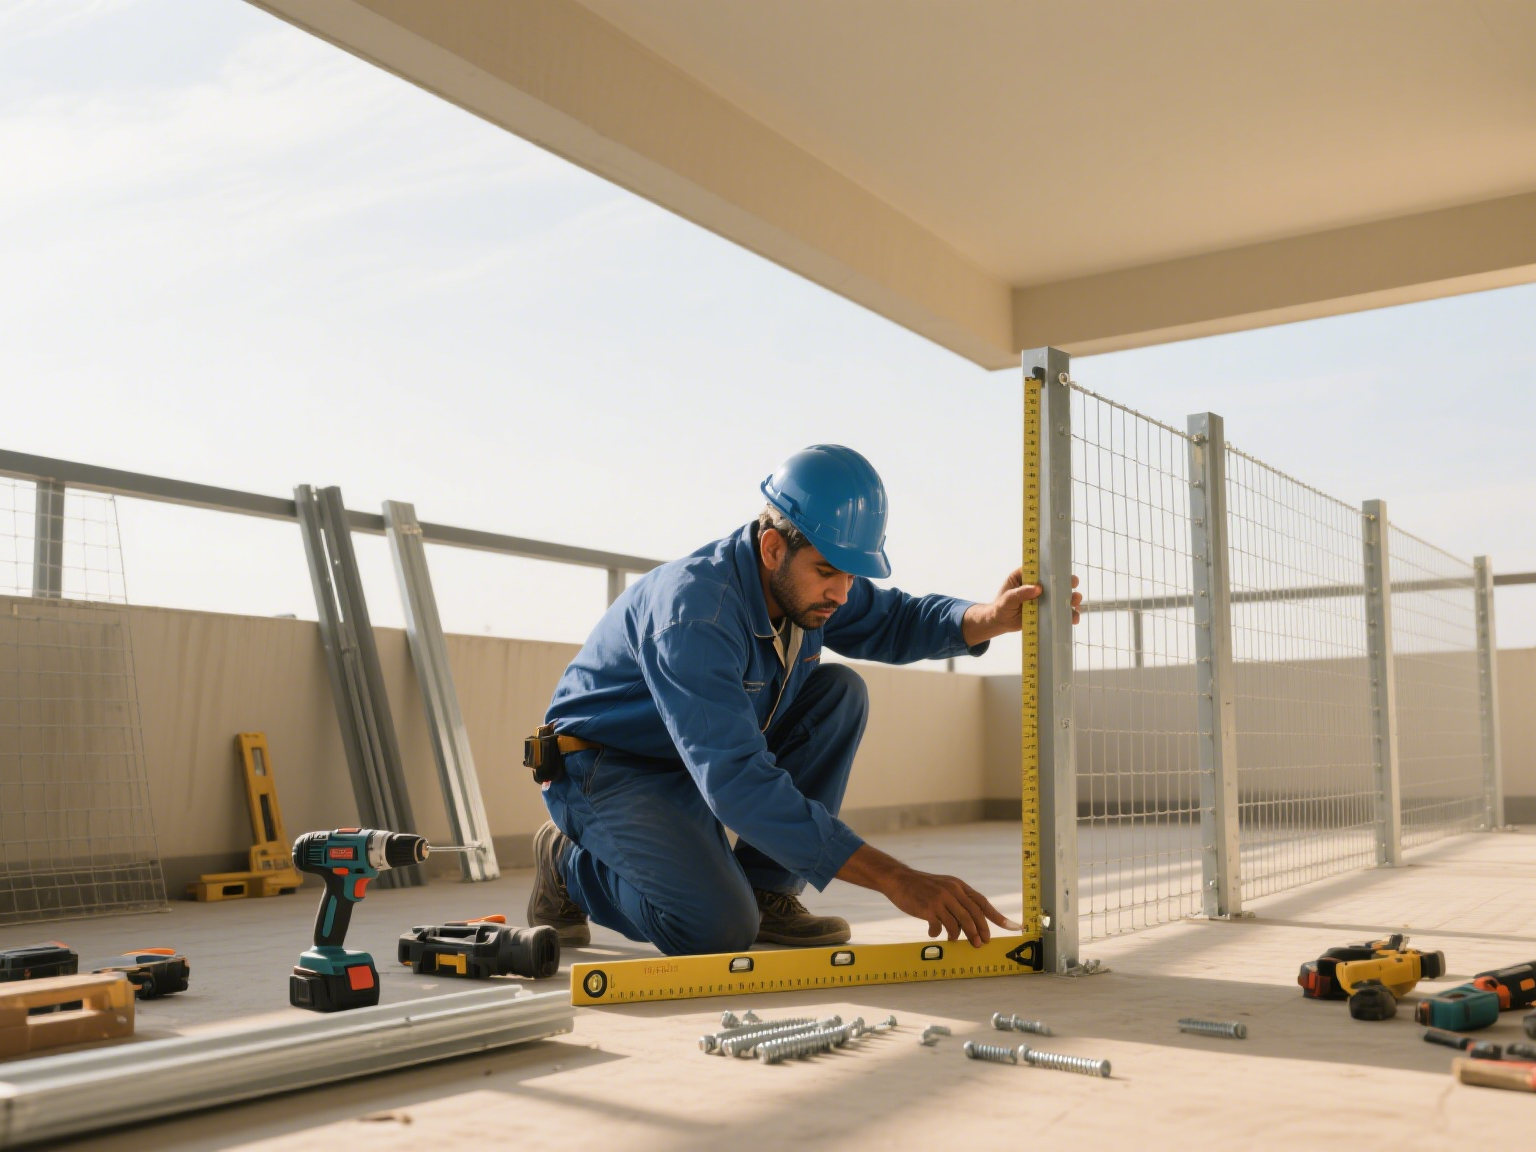
2. In-Ground Fences: Sturdy and Durable for Long-Term Fixing
Suitable Scenarios: Courtyard boundaries, garden fences, commercial premises perimeters.
Step-by-Step Guide:
Step 1: Dig Holes and Fix Posts
Dig holes 40–60cm deep (1/3 of the fence height) at marked points, insert single- or double-slot posts, backfill with concrete, compact it, and wait 24 hours for curing.
Step 2: Install Wave-Shaped Railings
Insert 50x15mm railing panels into post slots, adjust to horizontal, and fix with ST4x25 screws from the side. Add decorative caps to the top for enhanced aesthetics.
Step 3: Corner and Terminal Treatment
Use T-shaped connectors to join two posts at right-angle corners; add extra diagonal braces (made from 45x35mm profiles) to terminal posts for improved wind resistance.
Step 4: Greenery Climbing System (Optional)
If installing a climbing fram, fix stainless steel cables to top horizontal bars to guide vining plants (e.g., Boston ivy, roses) and create a green barrier.
Tips: In windy areas, install a “reinforced post” (buried 60cm deep + concrete) every three posts and use wind-resistant clips to connect horizontal bars and posts.
III. Scenario-Specific Installation Cases
Case 1: Rustic Courtyard Fence
Choose 1105 wood-grain base-mounted fences (80cm height), pair with climbing-style flower boxes (planted with roses and morning glories), and lay a cobblestone decorative strip at the base for a natural, whimsical vibe.
Case 2: Commercial Block (Barrier Fence)
Use 1101 granite-white in-ground wave fences (1.2m height), embed LED light strips every 2m, and light them up at night to form a continuous light belt, enhancing the block’s visibility.
Case 3: Balcony Pet Guardrail
Install 60cm-high in-ground fences with 5cm grid spacing (to prevent pets from escaping), add anti-chew strips (polymer resin material) at the bottom, and match with green tones to complement balcony plants.
Installing our fences is like building with blocks—no professional skills needed to achieve personalized creativity. Whether creating a private garden, commercial landmark, or upgrading home protection, clear steps and flexible design make your outdoor space transformation effortless. Start your ideal life today!